


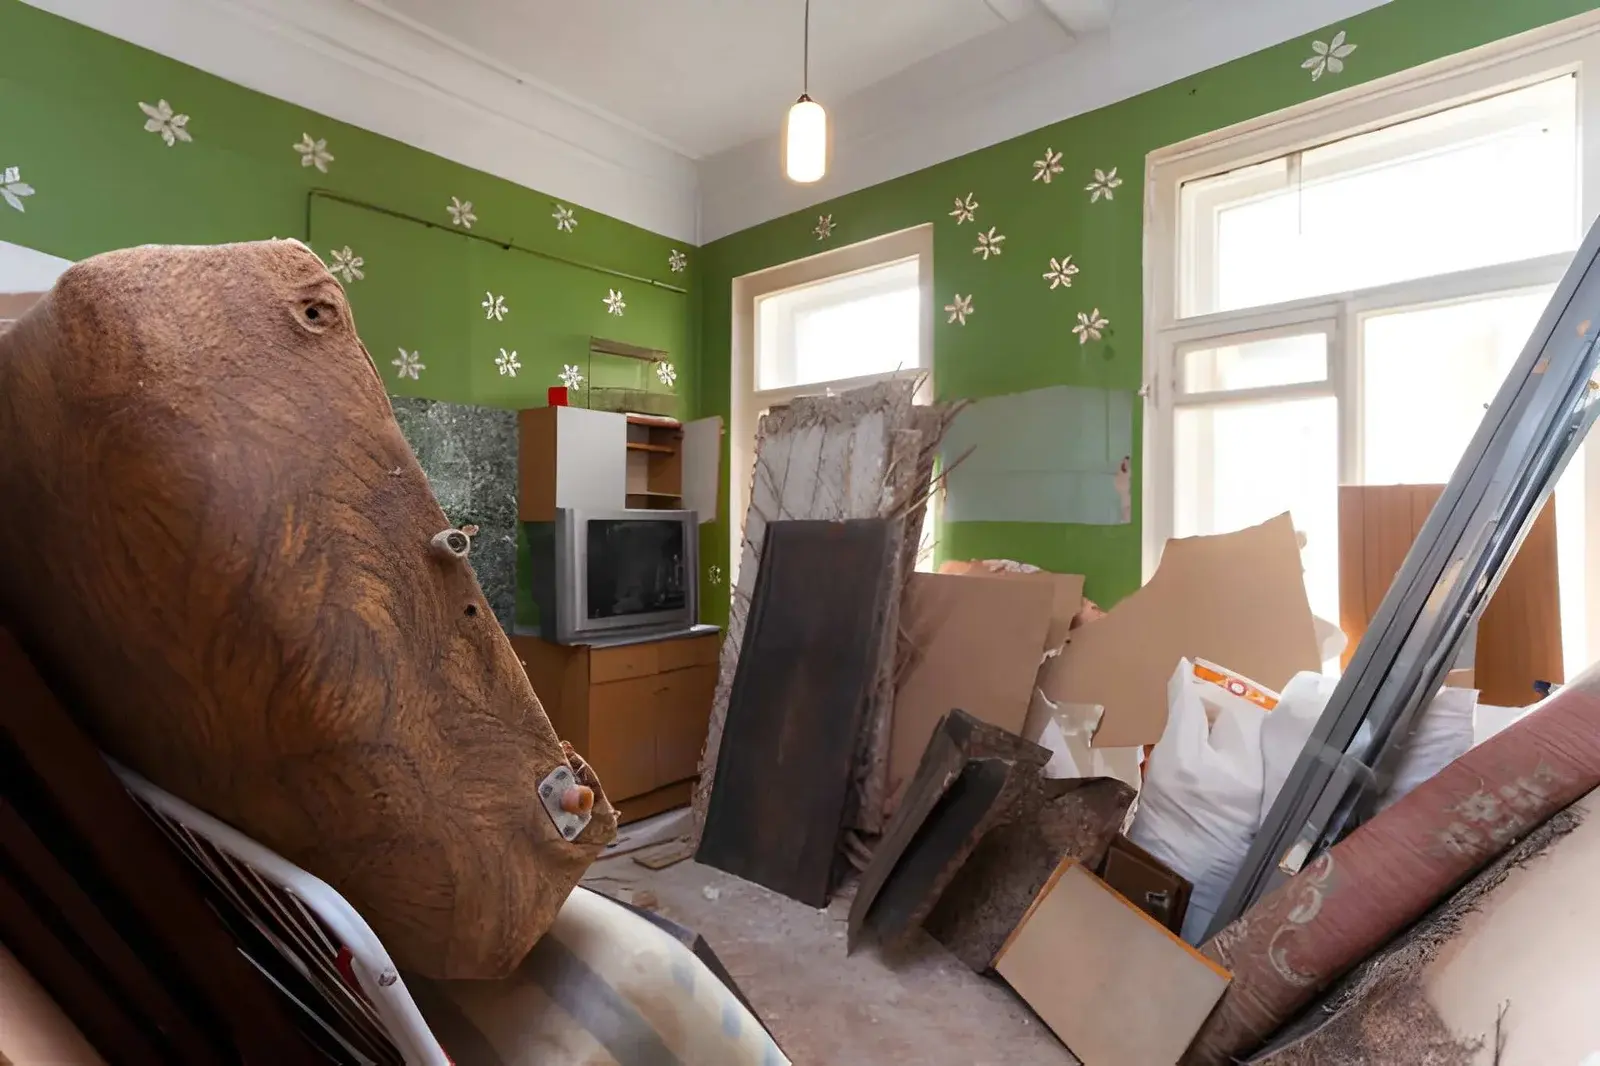
Aging rental properties often need more than cosmetic touch-ups between tenants. Contractors may be dealing with worn flooring, outdated cabinets, damaged drywall, old fixtures, broken doors, deteriorated trim, obsolete shelving, stained carpet, damaged vanities, and years of layered repairs. Once renovation begins, those materials can create a large amount of debris in a short time.
Waste removal planning helps contractors keep interior renovation work organized and prevents old materials from taking over hallways, garages, driveways, and staging areas. A clear disposal strategy also makes it easier to move from demolition into repair and installation without wasting time repeatedly shifting debris out of the way.
Start With a Full Interior Assessment
Before removing anything, contractors should walk the entire rental and identify what will stay, what will be repaired, and what will be replaced. Older properties often contain multiple generations of materials, including flooring over flooring, patched drywall, older cabinets, dated trim, and repairs from previous tenants or owners.
The assessment should include kitchens, bathrooms, closets, utility areas, basements, attics, garages, and any built-in storage. Contractors should also look for hidden debris behind cabinets, under flooring, and inside storage areas.
Knowing the full scope helps estimate debris volume and makes it easier to plan the right cleanup sequence.
Separate Tenant Leftovers From Renovation Debris
Aging rental interiors may still contain abandoned furniture, household items, boxes, appliances, or personal belongings when renovation begins. These materials should not automatically be mixed with construction debris.
Contractors should confirm with the property owner or manager that abandoned items have been properly handled before disposal. Once that issue is resolved, renovation debris can be sorted separately from anything that needs to be documented, stored, donated, or handled another way.
This separation helps prevent confusion once demolition starts moving quickly.
Plan Dumpster Placement Before Tear-Out
The dumpster should be positioned before major removal work begins. Contractors should consider the main entrance, garage, driveway, side access, rear doors, stairs, and any route crews will use to carry debris outside.
Working with Waste Removal USA can help contractors coordinate dumpster placement and service around rental renovation schedules. The best location minimizes carrying distance without blocking contractor parking, material deliveries, neighboring tenants, or property access.
A well-placed container gives crews a direct place for approved debris from the start.
Work Room by Room
Older rental interiors can become chaotic if contractors open every room at once. Flooring, cabinets, doors, drywall, fixtures, and trim can quickly spread through hallways and adjoining spaces, leaving little room for tools or new materials.
A room-by-room or zone-by-zone approach usually works better. Crews can complete most tear-out in one area, remove the debris, sweep the space, and then move to the next. This keeps the property easier to navigate and makes progress more visible.
Phased removal also makes it easier to identify hidden damage before the entire unit is opened up.
Plan Carefully for Kitchen Removal
Kitchens often generate some of the bulkiest debris in rental renovations. Cabinets, counters, shelving, sinks, flooring, backsplashes, drywall, trim, and old appliances can quickly consume staging space.
Contractors preparing for kitchen demolition should decide in advance what can be salvaged and what will be removed. Cabinets and counters may need to be broken down before loading, while appliances may require separate handling depending on the project plan.
Keeping kitchen debris moving out of the unit helps preserve room for plumbing, electrical, and installation crews.
Account for Layered Flooring
Older rentals commonly have multiple flooring layers. Carpet may cover older vinyl, laminate may sit over sheet flooring, and kitchens or bathrooms may have several generations of finish material underneath the visible surface.
These layers can create more debris than expected. Carpet and padding take up space, while tile, mortar, underlayment, and some older materials can be heavier. Contractors should inspect transitions, closets, and exposed edges whenever possible before estimating the cleanup.
If additional layers are discovered, the dumpster service schedule may need to be adjusted.
Keep Heavy Materials Under Control
Bathroom tile, plaster, countertops, dense flooring, old tubs, sinks, and masonry-related materials can add weight quickly. A dumpster may still have visible room while already holding a substantial load.
Contractors should identify the heaviest parts of the renovation during the initial assessment. Heavy debris should be loaded carefully, and crews should monitor the container throughout the tear-out instead of assuming unused volume means unlimited capacity.
This is especially important on older properties where unexpected materials may be uncovered behind finished surfaces.
Protect Materials That Will Remain
Not every aging interior needs to be completely gutted. Hardwood floors, doors, trim, built-ins, cabinets, or architectural details may be worth keeping. Contractors should identify these features before demolition begins.
Debris routes should avoid finished surfaces whenever possible. Floors may need protection, and long pieces of trim or cabinetry should be carried carefully through doorways and halls. Crews should avoid leaning broken materials against walls, railings, or fixtures that are staying.
Waste removal should not create additional renovation work.
Keep Hallways and Stairs Clear
Rental properties often have tight interior circulation. Narrow halls, stairways, shared entrances, and small landings can become blocked quickly by renovation debris. This is particularly important in duplexes, multi-family buildings, and properties with upper-floor units.
Contractors should keep main travel paths clear throughout the day. Debris should move directly to the dumpster or a designated short-term staging point rather than sitting in hallways.
Clear circulation helps workers move tools and materials and reduces the chance of debris interfering with other occupants.
Coordinate Cleanup with New Material Deliveries
Older rental renovations often move quickly because owners want the unit returned to service. New cabinets, flooring, doors, trim, fixtures, paint, appliances, and drywall may arrive before every demolition task is finished.
Contractors should coordinate debris removal with those deliveries. Old materials should be cleared from the best staging areas before new products arrive. The garage, driveway, or main room should not become a mixed pile of demolition waste and new materials.
Separating incoming and outgoing materials makes installation faster and protects new products from damage.
Watch for Hidden Damage
Removing old finishes often exposes problems that were not visible during the initial walkthrough. Contractors may discover water damage, rotten subfloor, damaged framing, pest activity, deteriorated drywall, leaking plumbing, or old electrical repairs.
These discoveries can increase debris volume and change the renovation schedule. Contractors should pause long enough to assess the condition instead of immediately tearing everything out. Some problems may need specialist evaluation before cleanup continues.
Building flexibility into the waste plan makes unexpected repairs easier to manage.
Keep Small Debris From Spreading
Small debris is easy to overlook during major tear-out. Nails, screws, staples, broken tile, splinters, drywall fragments, old hardware, tack strips, and wire pieces can spread across the entire property.
Contractors should keep buckets, contractor bags, brooms, and vacuums nearby. Small debris should be collected throughout the day rather than pushed into corners. At the end of each shift, hallways, stairs, driveways, and work paths should be checked.
This routine improves safety and makes the property easier to manage.
Use Cleanup Checkpoints Between Phases
Interior rental renovations benefit from planned resets. Good checkpoints include after demolition, before rough plumbing or electrical work, before drywall repair, before flooring installation, before painting, and before final fixture or appliance placement.
At each checkpoint, crews should load debris, sweep rooms, clear staging areas, and check dumpster capacity. These resets prevent waste from one phase from slowing the next trade.
They also make it easier for property owners or managers to review progress.
Keep Service Access Available
The dumpster must remain reachable for pickup or replacement. Rental renovation sites can become crowded with contractor vehicles, material deliveries, equipment, pallets, and appliances waiting for installation.
Crews should keep the service path open and avoid parking directly in front of the container. If a swap or pickup is scheduled, the area should be cleared before the truck arrives.
A full dumpster that cannot be serviced can quickly turn into a site-wide cleanup problem.
Prepare for Final Turnover
Once the renovation is nearly complete, waste removal shifts from demolition debris to packaging, cutoffs, leftover materials, and punch-list scraps. Contractors should avoid removing the dumpster too early if meaningful cleanup remains.
Final pickup should happen after the last major debris-producing phase but before cleaning, photography, inspections, or tenant turnover when possible. The property should also receive a final sweep of closets, cabinets, utility rooms, garages, and exterior access areas.
The goal is to hand back a finished rental, not a renovated unit surrounded by leftover construction waste.
Avoid Common Waste Planning Mistakes
One common mistake is opening too many rooms at once. Another is assuming older rentals will produce the same amount of debris as newer properties. Contractors should also avoid mixing new materials, salvageable items, tenant leftovers, and demolition debris in the same staging area.
Waiting until the dumpster is full before arranging service can also slow a fast turnover. A better approach is to assess the entire property, work in phases, load steadily, and reset the site between major stages.
Waste removal strategies for updating aging rental property interiors should focus on organization, access, debris separation, and timing. Older rentals can produce more waste than expected because of layered materials, hidden damage, bulky fixtures, and years of previous repairs.
By assessing the property carefully, planning dumpster placement, working room by room, protecting materials that will remain, coordinating deliveries, and using cleanup checkpoints between phases, contractors can keep renovation work moving efficiently. A strong waste plan helps turn an outdated or damaged rental into a cleaner, more manageable space that is ready for its next tenant.
Also Read

Pingback: Leading Fit Out Company in Dubai: Premium Interior & Fit Out Ideas