


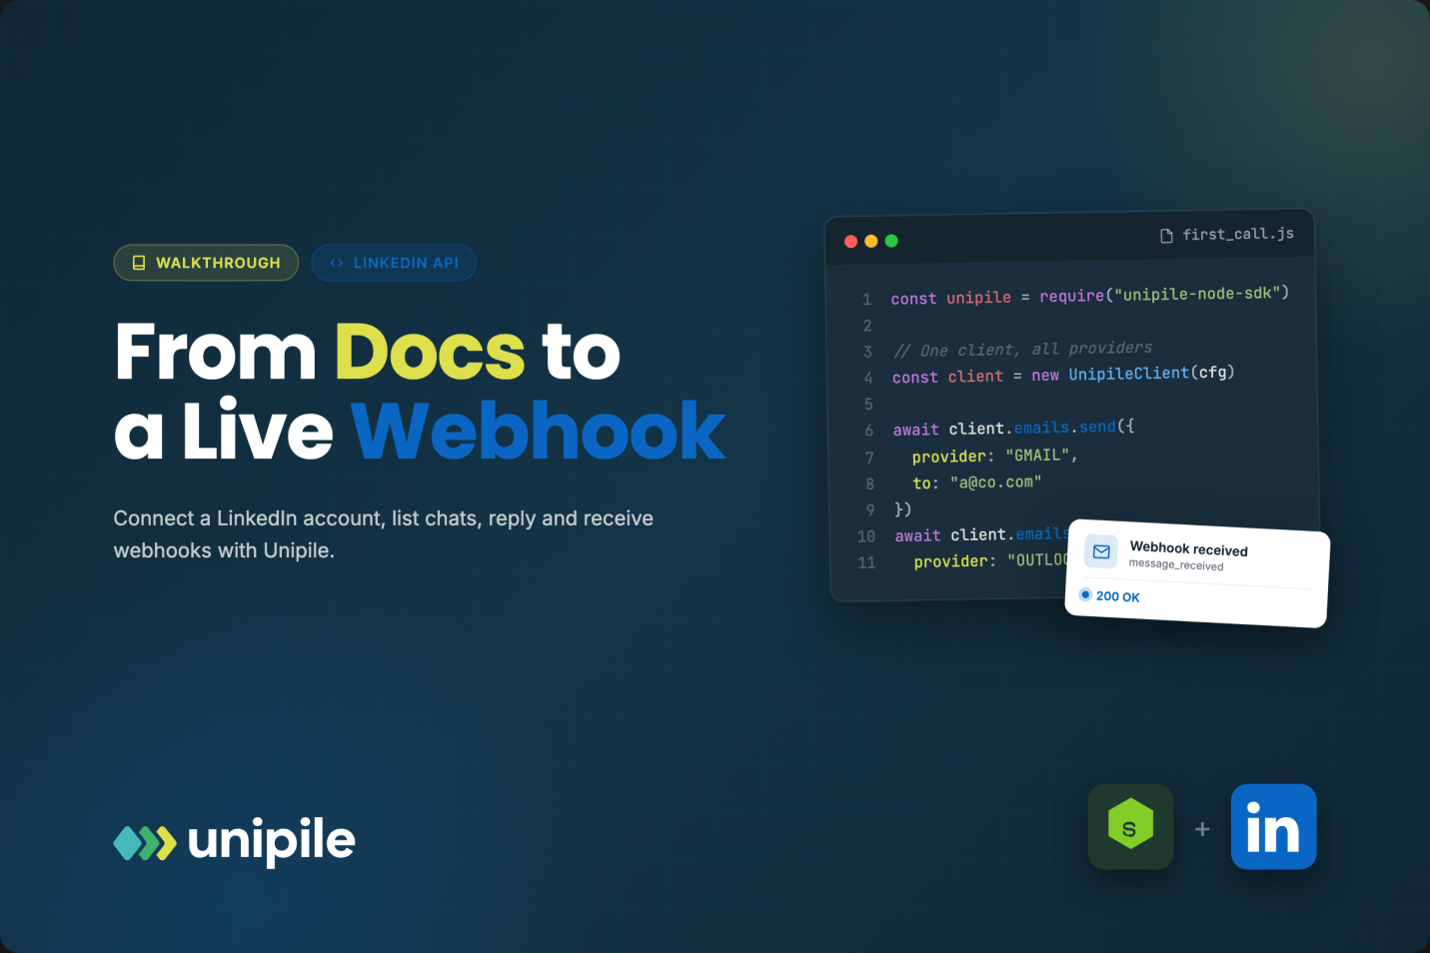
Most integration projects stall in the same place: not on a hard technical problem, but in the gap between opening the documentation and seeing a real event arrive in your own logs. This walkthrough closes that gap for LinkedIn messaging. It covers what to prepare before you write any code, the four calls that matter on day one, and how to read the reference so you find the right endpoint quickly instead of scrolling through all of it.
Introduction
A good first milestone for any messaging integration is modest and very concrete: one real account connected, one conversation listed, one message sent, and one webhook received on your own server. If you can reach that in an afternoon, the rest of the project is mostly product work. The LinkedIn API Unipile integration guide is the reference this walkthrough follows, and the goal here is to turn it into a short, ordered sequence you can actually execute, with notes on what usually trips people up.
Prepare three things before you open a terminal
Teams lose more time on setup than on code. Get these ready first and the calls themselves become almost boring.
- Credentials. From the Unipile dashboard you get an access token and your own base URL (the DSN). Every request carries the token in an X-API-KEY header and targets that base URL. Keep both in environment variables from the start, not in a scratch file you will forget to clean up.
- A LinkedIn account you own. For a first test, connect your own account or a colleague’s, with their agreement. You want a real inbox with a few existing conversations so the listing call returns something meaningful.
- A public HTTPS endpoint for webhooks. Your laptop is not reachable from the internet by default, so use a tunnelling tool or a small staging server. Without this, step four will silently do nothing and you will waste an hour suspecting the wrong layer.
There is also a non-technical item worth settling now: the account you connect belongs to a person, and every call you make runs on behalf of that authenticated user. Treat even your test account with the same consent logic your production users will expect.
Step 1: connect the account with hosted auth
The documentation offers two ways to connect a LinkedIn account. Hosted auth is a white-label page that your end user opens to link their own account, without your product ever handling their LinkedIn credentials. Custom auth exists for teams that need tighter control of the experience, for example through their own Chrome extension, but for a first integration hosted auth is the sensible default.
The flow is simple: your backend requests a hosted auth link, you send the user to it, they connect, and you receive an account identifier. Store that identifier against the user in your own database, because it is the key you will pass to almost every later call. Unipile also renews credentials when tokens expire, so you do not need to write refresh logic on day one, but you do need to react when an account disconnects, which is what the account status webhook is for.
Steps 2 and 3: list the conversations, then reply in one
With an account connected, list its chats. The messaging section of the reference groups this under listing messages, chats and attendees. Each chat comes back with an identifier, and that chat_id is the piece of data you will reuse when you send a message into an existing thread. Attendees describe who is in the conversation; when you later want a full profile for one of them, the users endpoint takes the identifier found in the attendee record.
A practical tip: log the raw JSON of your first listing and read it carefully. Seeing the actual shape of a chat and an attendee object answers half the questions you would otherwise ask support.
Sending into an existing conversation is a single POST against the chat you just listed. The guide shows it in cURL and with the Node SDK; the SDK version is the shortest:
const res = await client.messaging.sendMessage({
chat_id: “9f9uio56sopa456s”,
text: “Thanks, I will send the proposal tomorrow.”
});
If you need to start a brand new conversation rather than reply, there is a separate endpoint for starting a chat (POST /chats). Keep the two paths distinct in your code from the start: replying in a thread and opening a conversation are different product actions with different expectations from the person receiving them.
Step 4: receive your first webhook
Polling works for a demo, but real products react to events. The documentation lists three LinkedIn webhook events: account status, new message, and new reaction, read or other event. Register your public endpoint for new messages, then ask your colleague to reply to the message you sent in step three. Within moments a payload should land on your server containing the account, the chat and the message.
Two habits pay off immediately. Acknowledge the webhook quickly and do the heavy processing in a background job, so a slow database write never causes a delivery timeout. And make your handler idempotent, keyed on the message identifier, so a retried delivery never creates a duplicate record in your inbox.
How to read the reference without getting lost
Once the four steps work, the documentation becomes much easier to navigate, because you understand how its sections are organised. The LinkedIn endpoints fall into a handful of families:
- Account connection: hosted auth and custom auth.
- Messages: send and reply, InMail, attachments, voice notes, read receipts, reactions.
- Users and profiles: retrieve a profile, list relations, send or cancel invitations.
- Posts and comments: create posts, comment, react.
- Specific: search, company profiles, InMail credit balance, job postings and applicants.
- Webhooks: the three events above.
The documentation also covers four inbox types: LinkedIn Classic, Sales Navigator, Recruiter and Company Page. Before you design a feature, check which inbox your users actually live in, because a recruiting product and a sales product will not touch the same one.
Responsible use, before you scale anything
Unipile is an independent technical intermediary. It is not affiliated with, endorsed by, or sponsored by LinkedIn, and every documented call is fulfilled from the connected user’s own session, bounded by what that person can already do on LinkedIn. Rate limits and daily volumes are set by LinkedIn; the API relays those signals so your integration can slow down or requeue. The cadence and volume you choose for each account remain a customer-side decision, and every deployment has to stay within LinkedIn’s current terms.
With one account, one listing, one send and one webhook working, you have proven the full loop. Everything after that, unified inboxes, CRM sync, candidate conversations, is built on exactly the same four moves.
Read more: https://rizways.com/commercial-hvac-energy-savings-without-sacrificing-comfort/
https://rizways.com/liquid-confidence-why-social-anxiety-and-alcohol-get-so-tangled-up/
https://rizways.com/box-packaging-design-turning-a-simple-box-into-a-strong-brand-asset/

Pingback: CFA vs Investment Banking Program in Chennai: Which Should You Pursue First?